DEV VERS - From A (Away) to Z (Zero)
People talk about throwing things "away." Did you know there is no "away?" In this exercise you'll classify what your school discards and then find new place for the stuff you no longer want or need.
Resource Title:
From A (Away) to Z (Zero)
Description:
People talk about throwing things "away." Did you know there is no "away?" In this exercise, students will classify what their school discards and then find a new place for the stuff they no longer want or need.
Target Grade Level:
Grades 5-8
Discipline or Course (Audience):
Science, Social Studies
Time Frame:
A small amount of time must be set aside each day for 3-5 days to collect and classify garbage once the class has obtained data: 1-2 class periods for analyzing data, creating graphs, and the Reflect and Apply discussions.
Suggested Grouping:
Teams of 3-4 students
Educator Prep:
- Prior to considering this activity, it is recommended that permission forms be signed by parents allowing students to handle classroom trash. Consult school policies and check with your administration.
- Make necessary arrangements with your custodians or teaching team as needed to collect trash for sorting. For example, you could include the ELA, math, science, social studies, specials, and/or administrative offices. Each team might have a different room to obtain the end-of-the-day trash. If you generate enough trash in your classroom for your students to sort, your classroom may suffice.
- For safety and health reasons, students should not sort through cafeteria or bathroom trash that could potentially put their health at risk.
- In cases where sorting trash is not possible or permitted, consider having students collect data from websites such as those listed in the Weblinks section of this activity. They can research issues relating to trash production and marine debris and obtain data sets to use in estimating, graphing, and discussion activities.
Preparation Directions:
- Gather materials (see Supporting Material - Student Data Sheet: From A (Away) to Z (Zero) ).
- Develop a time slot at the end of each day during which students will sort, classify and record the materials that are thrown “away.”
- On a large disposable plastic table cloth, draw large circles with labels for paper, plastic, metal, organics, and “other.” These will be used for classifying discards. It can be wiped or hosed for the next use, and then recycled.
- Set-up a bin or container labeled “Sharps”. This is where students should dispose broken or sharp objects. Be sure this is explained and addressed to students prior to beginning the activity.
- Decide on the most practical units to use for measurement, and how your students will determine mass. This can be done using balance scales, or spring scales (trash can be placed inside a plastic bag and hung from hook) or a bath-room scale.
Materials:
- Heavy-duty latex or vinyl gloves (1 pair per student; Vinyl gloves should be used in case of latex allergies)
- Lab coats or aprons for protection
- Goggles
- Dust or sanding masks
- Disposable plastic table cloths for sorting trash** (one per team)
- One gallon bucket (per team)
- Permanent markers
- Balances or scales (bathroom scales or spring scales)
- Cellophane wrap to cover scale if using a bathroom scale
- “Grabbers” to remove trash from large bins
- 4-5 empty gallon waste or paint buckets (one per team for sampling)
- Sharps container
- Wet wipes or antibacterial soap to clean at the end of each use
- Graph paper (optional)
- Cleaning supplies
- Calculators
Safety Notes:
Trash can contain materials or microorganisms that might be unsafe for handling. It is essential that you follow these guidelines:
- None of the trash should be touched with bare skin.
- Wear protective gloves and goggles.
- Wash hands each time after processing trash.
- Cover the scale with cellophane, and discard after each day’s measurement activity.
- Wipe down the surfaces where the trash was sorted after the activity.
- For large volumes of trash, use the sampling technique.
- All broken objects must go into the “sharps” container. This includes broken objects and anything that could poke or puncture. Your teacher should handle this task.
- For safety and health reasons, students should not sort through cafeteria or bathroom trash that could potentially put their health at risk.
Teacher Directions
Show students images of landfills and/or any of the oceanic garbage patches (5 gyres contain large amounts of plastic and persistent organic pollutants). In small groups, and then as a class, have students share ideas about how they think the materials got there and what impact they might have on the environment. Have students discuss what can be done to dispose of those materials in a more positive way.
People often talk about throwing things “away.” Discuss with students the idea that there really is no “Away” and that each item we no longer want ends up somewhere. In most communities, much of the trash goes to a landfill. Hopefully, recyclables go to processing centers to be reused. Explain that students will attempt to classify all of the materials that they throw “away” in the classroom in a week. Discuss categories: (a) paper, (b) plastic, (c) metal, (d) organic (compostable), and (e) other. The “Other” category may include electronics, batteries, oil, and other chemicals requiring specific disposal and/or recycling methods.
Estimate Your Trash Production Teacher Directions:
- Review how the trash will be sorted and discuss the measurement units with students.
- Demonstrate how to use a spring scale by hanging a plastic bag from its hook (if you have chosen this method). Containers should be used for balance scales and/or bathroom scales. Students will need to subtract the mass of the container from the total when using this method (ask students to describe this).
- Review methods of estimation for large samples as needed (if unable to sort an entire container, may sample a smaller size (one gallon) and then estimate total by multiplying that by # of gallons the container can hold). Depending upon the facilities, students may wish to measure paper as sheets or by weight.
- Discuss safety rules.
- Conduct activity with students, overseeing trash sorting procedures and safety.
- Have students carefully wipe down surfaces when finished and wash their hands.
Project the class data table on a screen during each sorting event. Student teams may type results directly into the table for the rest of the class to view and copy down (or students can copy and paste the table into a separate document). Review types of graphs that could be generated with student input. You may decide to have students start their graph on the first day and add to it progressively over time, or have them create a graph after all data has been collected.
Remote Learning Adaptations:
This activity is not appropriate for remote learning.
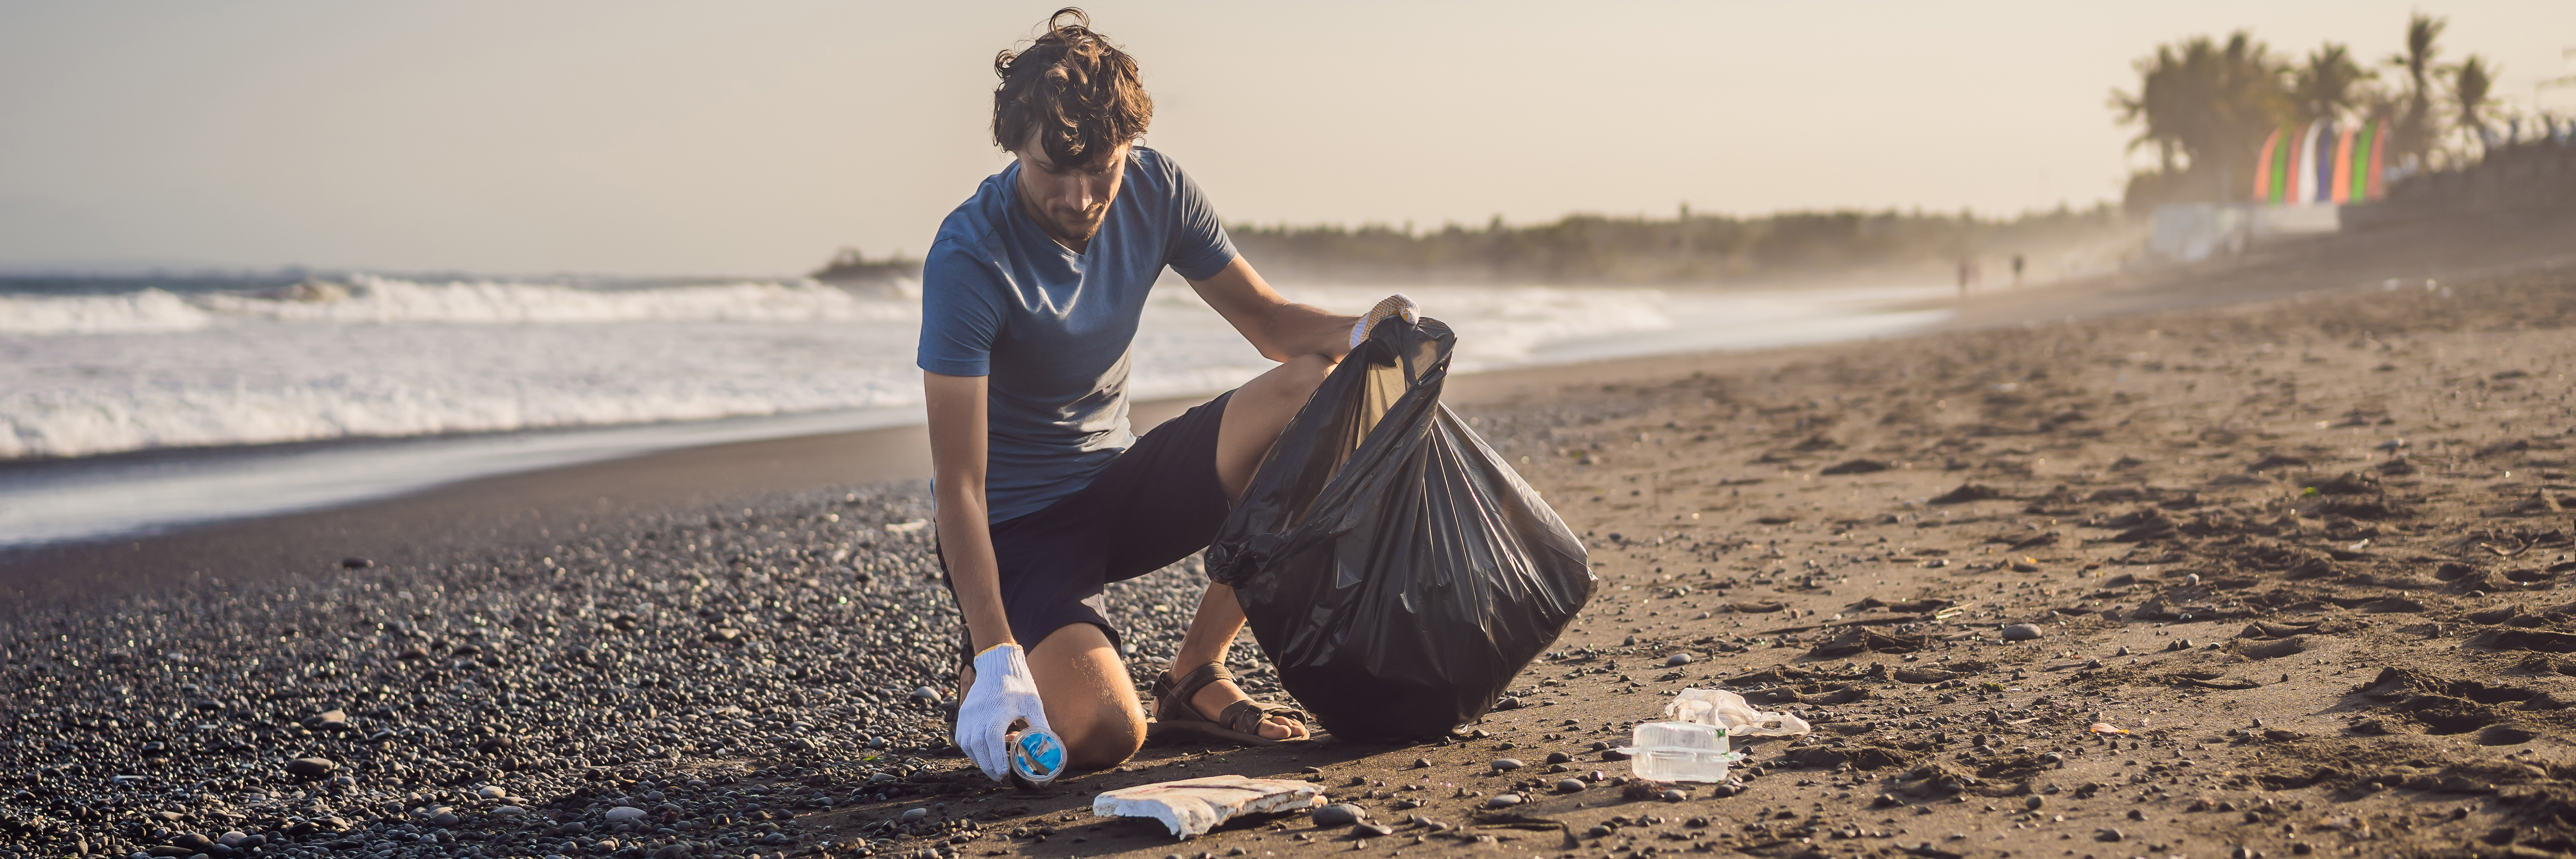
Have you ever talked about throwing things “away?” There really is no such place! All the things we no longer want must go somewhere. Modern communities are structured in such a way that citizens seldom see where their trash goes. A truck comes to the curb, and the trash and recyclables go “away.” Unfortunately, most trash that cannot be or is not recycled ends up in a landfill, and may contribute to the release of harmful gases or chemicals into the environment. Some trash ends up in natural areas like fields, forests, streams, and oceans. In the North Pacific Ocean, there is a place called the Great Pacific Garbage Patch, where trash becomes trapped in an area between currents that rotate in a circular direction. Some estimate this patch to cover an area twice the size of Texas. There are five major oceanic garbage patches, including the one in the North Pacific. In this activity, you will estimate of the amount of trash that is discarded by your classroom and school, and consider what part your own community plays in the accumulation of trash. Finally, you will develop an action plan to move in the direction of a “zero” waste stream, the ultimate, long-term goal.
Materials:
- Heavy-duty latex or vinyl gloves
- Lab coats or aprons for protection
- Goggles
- Dust or sanding masks
- Disposable plastic table cloths for sorting trash(one per team)
- One gallon bucket (per team)
- Permanent markers
- Balances or scales (bathroom scales or spring scales)
- Cellophane wrap to cover the scale if using a bathroom scale
- “Grabbers” to remove trash from large bins
- 4-5 empty gallon waste or paint buckets (one per team for sampling)
- Wet wipes or antibacterial soap to clean at the end of each use
- Graph paper (optional)
- Cleaning supplies
- Calculators
- Supporting Material - Student Data Sheet: From A (Away) to Z (Zero)
Safety Notes:
Trash can contain materials or microorganisms that might be unsafe for handling. It is essential that you follow these guidelines:
- None of the trash should be touched with bare skin.
- Wear protective gloves and goggles.
- Wash hands each time after processing trash.
- Cover the scale with cellophane, and discard after each day’s measurement activity.
- Wipe down the surfaces where the trash was sorted after the activity.
- For large volumes of trash, use the sampling technique described below.
- All broken objects must go into the “sharps” container. This includes broken objects and anything that could poke or puncture.
Estimate Your Trash Production
- Review activity and safety guidelines with your teacher. Wear appropriate protective gear
- In teams of 3-4, prepare your “sorting station” by drawing five large circles on a plastic tablecloth with a permanent marker and labelling the circles with one of the following: “plastics”; “metal”; “batteries/electronics”; “paper”; and “organics”.

- If using spring scales, calibrate the scale with an empty plastic bag hanging from the hook (trash will be placed in the bag to measure).
- Collect your trash sample (your teacher will provide instructions). If sorting through a large volume of trash, use a gallon bucket-sized sample.
- Classify, or sort your trash according to the groupings you created, by placing each item in its correct circle.
- Record your data in the information sheet provided. You can easily copy and paste the table multiple times into a separate document.
- Discard trash (recycle items that may have been mistakenly thrown away), and clean your stations and hands.
- Repeat this process for at least 3-5 days (3-5 samples).
Analyze Results
- Tally the class data and analyze. Which categories of trash tended to accumulate the most? The least?
- Calculate or estimate the amount of trash the location you studied creates in one week, month, and year!
- What are some limitations of the methods used to estimate the amount of trash that is produced in a day/week/month/year? In what ways is this method valid?
- Analyze the class data and discuss the kind(s) of graph(s) that would be best for displaying this information presented in either Tables I or II. Is there more than one graph you could make? What would each graph show? Choose one to graph to create. Be sure to include: Title, axis titles and labels, and a key if applicable.
(You can easily copy and paste this table multiple times into a separate document)
Table 1: Class Data: Mass of Trash Samples (in g or Kg) Example
Day #: ________ (Date: _____________)
Category |
Team A |
Team B |
Team C |
Team D |
Team E |
Total Mass (kg) |
|
Location of Trash (i.e., classroom name of #) |
||||||
|
Plastic |
||||||
|
Metals |
||||||
|
Batteries/Elements |
||||||
|
Paper |
||||||
|
Organics |
||||||
|
Total Mass (kg) |
Reflect and Apply:
- For each trash category you investigated, think of ways to reduce the amount thrown “away” and how these items could be reused or discarded properly. Complete the “Getting to Zero” chart from Supporting Material - Student Data Sheet: From A (Away) to Z (Zero) .
- What recycling options are available in your community for the different categories of trash?
- Make recommendations that your class or school should make for the remainder of the year. Discuss how these changes should be made, and what positive effect this might have on the environment.
- How could students find out how much cafeteria trash, or even school-wide trash, is generated in a year? Could they launch a schoolwide campaign to get closest to “Zero”?
Extension:
Using internet resources, visit or contact your town hall or county office to obtain information about your community's landfill.
Determine:
- Where is it located?
- What is its size?
- How much does it cost to build?
- How much does it cost to manage?
- Would more recycling save the community the cost of building more landfills?
- Explain the pros and cons of having a landfill.
- What changes could you make at home when discarding trash?
Additional Resources to Explore:
Related Resources
-

Web Link
This webpage from the Environmental Protection Agency provides waste and materials characterization reports organized by state.
-

Diagram
This diagram shows a sample of how students may choose to sort their trash for the Recycling Activities Collection data table.
-

Supporting Material
Use this resource to record your thoughts, actions, and data.