Fidget Widgets
Have you ever played with a fidget spinner, clicky cube, or other tactile toy? In this activity, you will apply your understanding of the prototyping process in the creation of fidget toy prototypes.
Teacher Tips!
Many activities have a teacher view and a student view, and teachers can switch between those views by clicking the blue button in the upper-right. Students will not see this option - only teacher accounts see both views. The teacher view will start with overview text, if available, to frame the activity and get you started. This view will also have teacher tips and suggested answers to student questions spread throughout the activity. The teacher text interleaved with student-facing text will be in italics and should appear as a different color on your screen. Teacher tips are designed to help you deliver a learning experience that is best suited for your classroom.
Printing Reminder
Whichever view you see on your screen is what will print. You can print this activity without teacher tips by selecting the student view, or print with teacher tips by switching to teacher view. Simply use the standard print function available for your web browser. No extra steps are required.
Resource Title:
Fidget Widgets
Description:
Have you ever played with a fidget spinner, clicky cube, or other tactile toy? In this activity, you will apply your understanding of the prototyping process in the creation of fidget toy prototypes.
Target Grade Level:
Grades 9-12
Discipline or Course (Audience):
CTE: Advanced Manufacturing Systems (VA Course - 8427)
Time Frame:
Three 60-minute sessions
Suggested Grouping:
3-4 students
Key Vocabulary:
fidget, widget, prototype, additive layer manufacturing, component
Educator Prep:
In this activity, students will select a fidget device and improve upon it in some way.
Recommended Student Background Knowledge and Skills:
- Students should have read Article - Product Design: Rapid Prototyping .
- Web Link - 3D Printing Basics! (Ep1)
- Ensure that students have familiarity with Tinkercad. Allow students who have no experience time to explore the tutorials in the Learn section of Tinkercad.
Preparation Directions:
- Gather a variety of fidget devices (such as fidget spinners and fidget cubes) for students to interact with for inspiration. It is helpful if the devices have moving parts and more than one component.
- Have all students register both on Web Link - Tinkercad and Web Link - Thingiverse .
Special Population Accommodations:
- GT students or students with prior experience may wish to create an original fidget design instead of modifying an existing design.
Supporting Resources for Implementation:
Remote Learning Adaptations:
If students are learning remotely and do not have access to a fidget device, they can select several of the fidget devices in the introductory video to review in Part 1. Likewise, students can work independently on their fidget design improvements. Completed .STL files can be submitted to the teacher for 3D printing.
STUDENT CONTENT BELOW THIS LINE
Are you feeling antsy? A little fidgety or stressed? Let's work the stress out with some fidget widgets
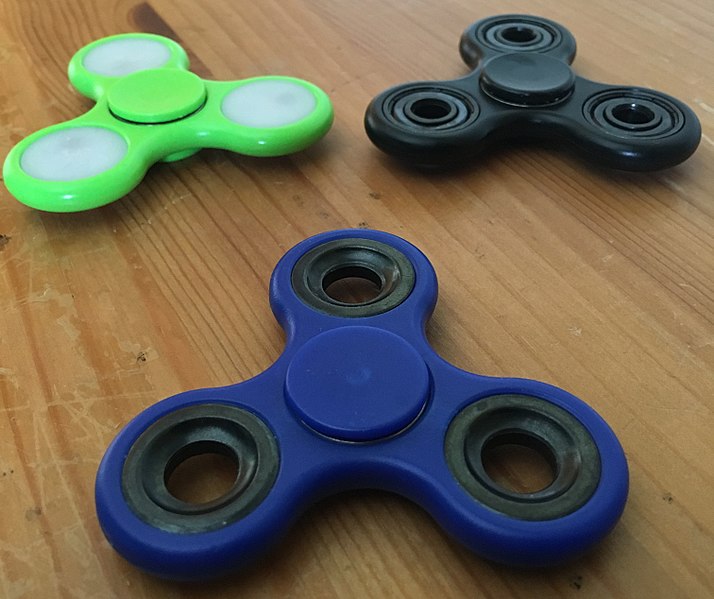
Figure 1: Example Fidget Widgets
"Fidgets" are self-regulation tools used to help with focus, attention, calming, and active listening. They are typically small and hand-held, and they may contain moving parts or make sounds. People will manipulate fidgets to ease restlessness and relieve nervous energy.
You may have seen fidgets before in the form of fidget spinners or fidget cubes, two very popular types of fidgets. Watch Web Link - 12 Top Fidget Toys for Stress to see different kinds of fidgets in action.
Materials:
- 3D printer access
- Device with internet access
- A variety of fidget toys
- Supporting Material - Fidget Widgets — Student Answer Document
Safety Notes:
- Closely follow all classroom and product safety directions when using the manufacturing equipment.
- When using technology, engage in safe, legal, and ethical behavior; this applies to devices (hardware), application or programs (software), and interactions with others.
Part 1: Learning About Fidgets
Arrange students into groups of 3 to 4. Give each group of students a variety of fidgets to explore.
You and your group have been given a variety of fidgets to examine. Spend some time manipulating each of the fidgets to identify certain characteristics and understand how it functions. Record all of your observations in Table 1. You will record:
- Fidget Device Name: If you know the name, record it. If not, name it according to its characteristics.
- Description: Describe what it looks like and how it functions.
- Measurements: Using tools such as a measuring tape, calipers, etc., measure the fidget toy.
- Movements: Do any parts move? If so, how?
- Sounds: Does it make any sounds? If so, what does it sound like?
- Components: Does it have more than one part? If so, what are the parts? How do they fit together?
- Materials: What materials is it made of?
- What I Would Change: What would you do to make it better?
Table 1: Fidget Observation Table
|
|
|
|
|
|
|
|
|
Fidget Spinner |
Small device with a center circular weight that can be held and the rest of the device will spin around it. There are three arms around the center weight that each contain a disc-shaped ball bearing. |
2.5 inches in diameter, .5 inches thick, bearings are .6 inches in diameter |
spins |
no |
There are several parts, the center weight, large multi-armed outer piece, and three additional disc-shaped ball bearings. |
plastic and metal |
I would replace the outer ball bearings so they are like pop-its. |
|
|
|
||||||
|
|
|
||||||
|
|
|
||||||
|
|
|
Part 2: Exploring Fidget Designs
- Did you know that fidgets can be 3D printed? In the online community , you can share 3D printing designs in the form of .STL files (a file format commonly used for 3D printing and computer-aided design) that provide you with the design directions for your 3D printer. Let's take a look at a design together.
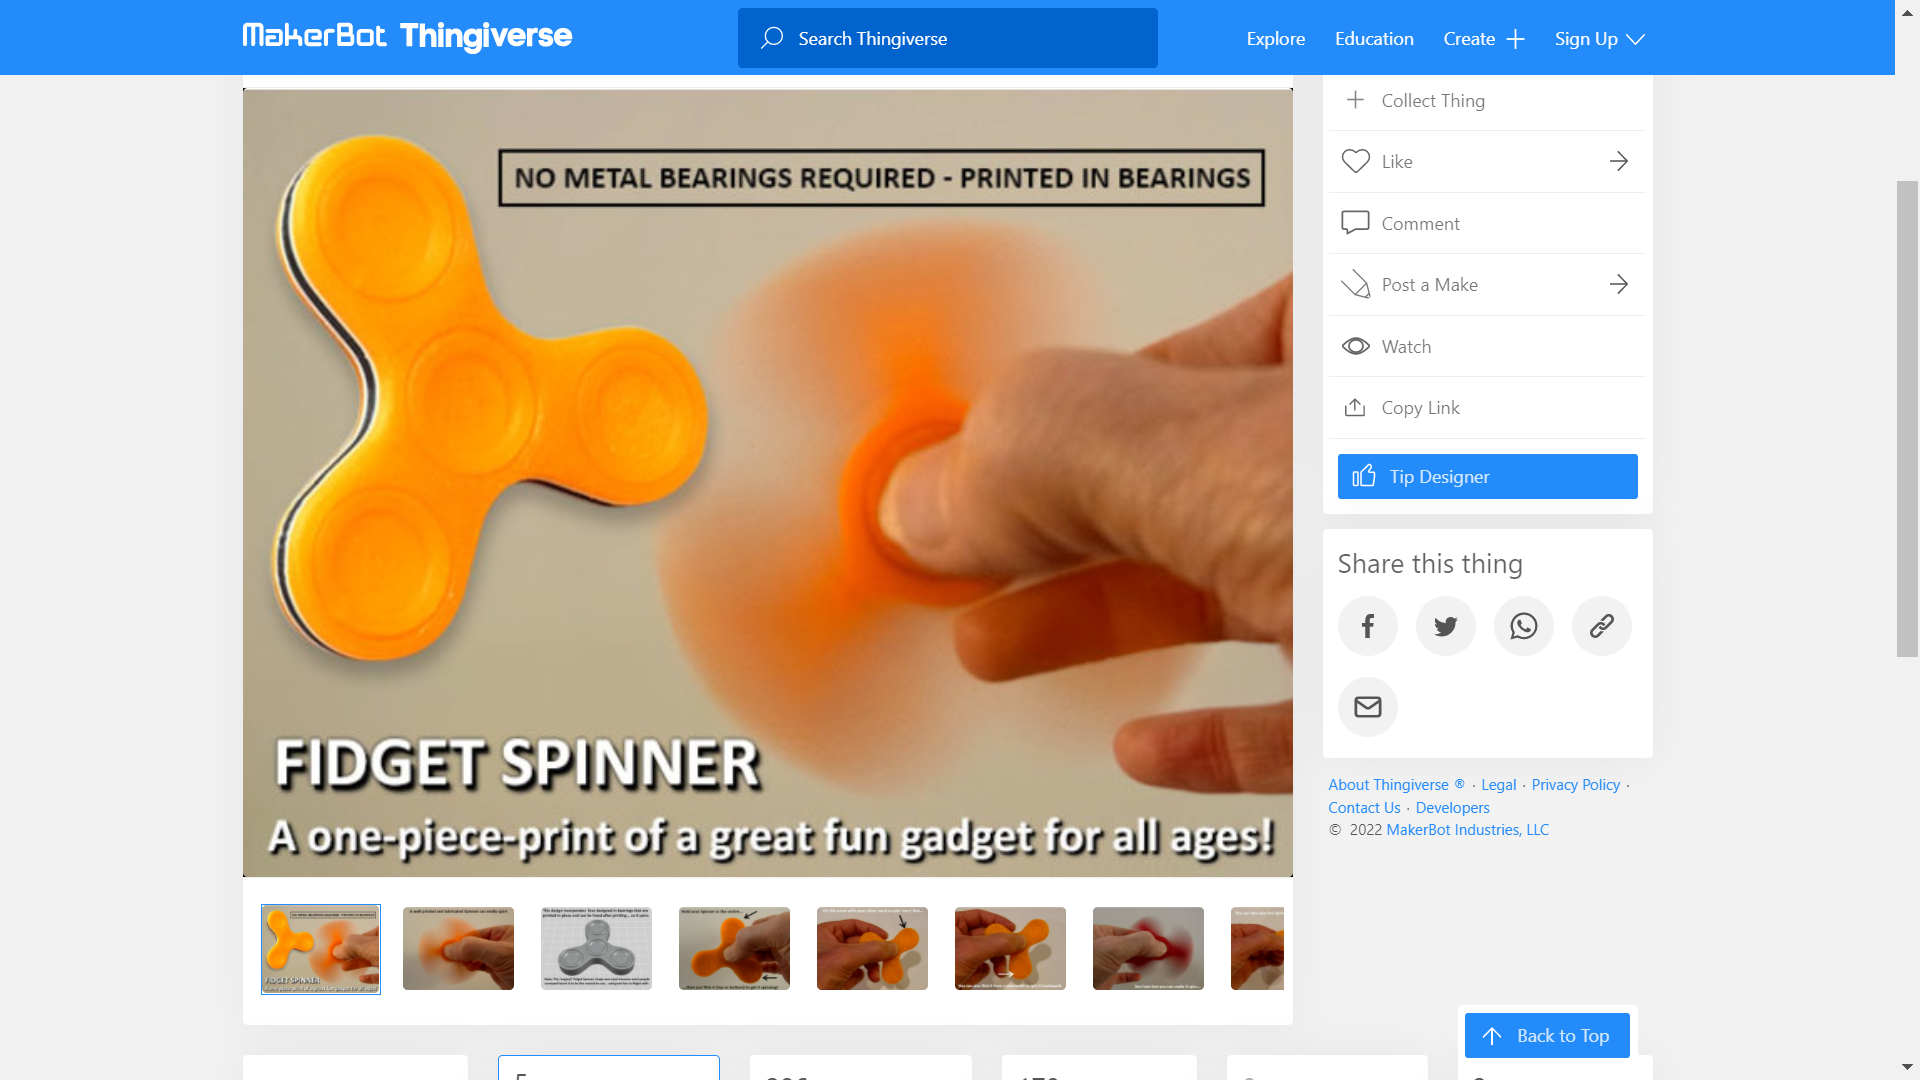
- Go to Web Link - Thingiverse Fidget Spinner Design to see the design for a fidget spinner. Figure 2: Fidget Spinner design
- Read through the Summary to understand as much about the design as possible.
- Just for practice, download the main .STL file to your Google Drive. If you do not yet have a dedicated folder to store your downloaded .STL files, create one now.
- Once you have successfully downloaded the file, use the search bar at the top of the page to search for other fidget designs on Thingiverse.
Part 3: Improving Upon a Design
- Select the design of one fidget that you would like to improve.
- Look carefully at the design. Consider how you would improve it. Will you add a feature? Will you change its structure so that it makes a sound? Will you make it move in a different way? For this first project, you may want to keep your design changes simple, but if you're familiar with Tinkercad and are comfortable making changes to an .STL file, go for it!
- Read through the summary to fully understand the design.
- Download all related .STL files to your Google Drive's dedicated .STL folder.
- Log into Tinkercad.
- Upload the .STL file(s) to Tinkercad. If you've never done this before, watch this video to learn how. Web Link - Modify Existing STL files easily using Tinkercad
- Once you have opened the file, you can begin to make changes to the design to improve it! Work with your group to refine the design. Don't forget to consider any constraints you have, such as materials your fidget can be made from, any size limitations, etc.
- Review toy safety regulations to ensure that your design meets federal standards: Web Link - Toy Safety Business Guidance
Part 4: Creating Your Prototype
- Share your design with your teacher for approval.
- Once approved, carefully follow all classroom and product safety instructions to 3D print your improved fidget.
- Be sure to collect all of your documentation including.STL files, engineering journal notes, and photographs of the prototyping process along the way.
Reflect and Apply:
Once all of the fidgets are printed, test your device and provide feedback on other groups' devices by answering these questions:
- Does it work as intended?
- Do the components fit together?
- Is the toy safe?
- Could you make any changes to the design to improve it even more?
Extension
Learn more about the .STL design and 3D printing process by creating measuring tools with Tinkercad: Web Link - Two-in-One Caliper and Offset Tool in Plastic
Additional Resources to Explore:
- Explore other Web Link - Projects on Tinkercad .
- Learn more about Web Link - 3D Printing Basics! (Ep1) .

